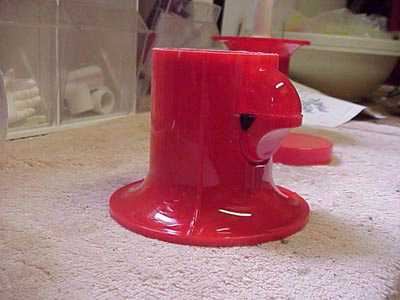

Take a Carousel Snack Dispenser, remove the "hook" from the mouth, using a sharp razor knife (carefully)
Remove the globe, I use a hacksaw for this,
although I've been told they will "twist off"
(yea if you're Magilla Gorilla)
I use a table sander to remove any extra plastic after the cut and to smooth the surfaces of the globe and the base
#2A
No sander?
Get out the sand-paper
#2B
It sucks to be you
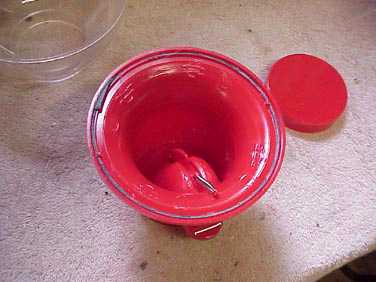
Remove the bottom from the dispenser
There are a number of ways to do this.
I drill a 1/4" hole in the base and pry it off with an ice-pick
A screwdriver is probably safer and results in a lot less bleeding & swearing
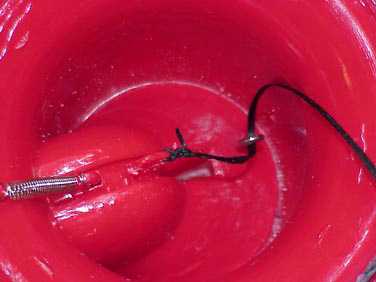
I next drill a 1/16" inch hole in the base for an eye hook.
Screw it into the hole and add a drop of glue to make sure it stays put
I also drill a 1/8" hole in the lever assembly for the string
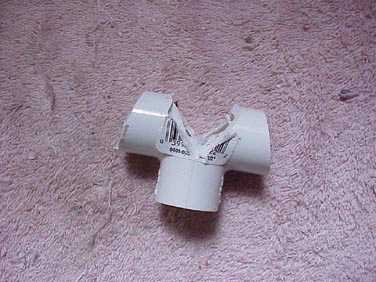
Next comes the "T"
I use a 1/2" PVC "T"
The center needs to be removed and the edges tapered.
I use a bench grinder for this.
No bench-grinder,
See #2B above
Thread the string through the "T"
and glue the "T" into the base.
THIS MUST BE STRAIGHT
I hot-glue them in and if it's crooked, it can be reheated with a heat-gun or blow-dryer and repositioned as needed.
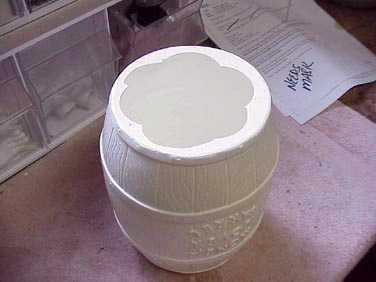
Invert the lid and glue it onto the top of the base
The string can be threaded though a piece of 1/2" PVC 16" long and the pipe inserted into the "T"
If all went well,
the mouth should operate when you pull the string
Place the globe into the bottom lid and a second lid on top of the globe.
Now set that aside.
Take the Barrel and drill a 1 1/4" hole in the top. Make sure it is centered. I use a 1 1/4" hole saw, but it can be cut with an exacto knife
If you don't have a 1 1/4" hole saw, see #2B above
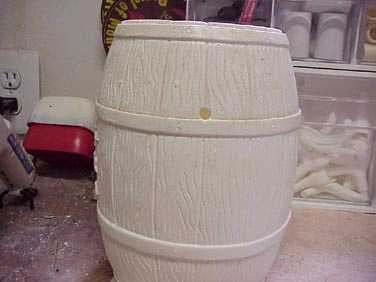
The bottom of the barrel has to opened up enough to allow access by your hand.
I drill a series of holes with a 2" hole saw, you can also cut it with a knife (see #2B again)
Leave enough plastic around the rim to allow it to be attached to the bowl
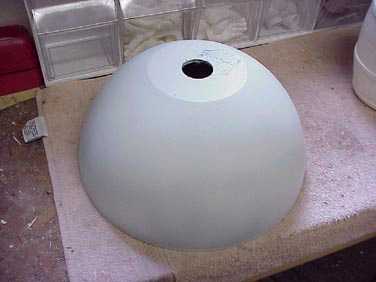
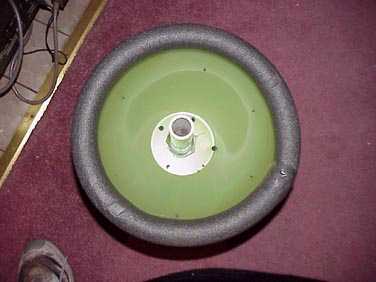
Take the bowl and drill a 1 1/4" hole in the base of the bowl
Make sure it is centered
If your bowl isn't white,
paint it flat white now
Use 2 or 3 coats allowing time to dry between coats
Drill 2 horizontally opposed holes, 3/8" in diameter, just above the top ring of the barrel for the arms to attach.
Looking at the top of the barrel, make the logo 6 o'clock and the holes at 3 o'clock and 9 o'clock
If it takes more than 48 hrs. to do this, you misunderstood the instructions
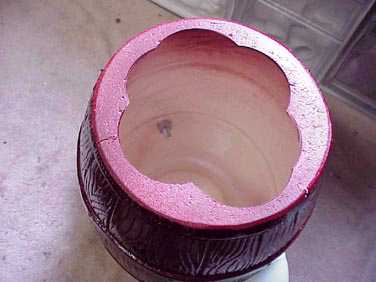
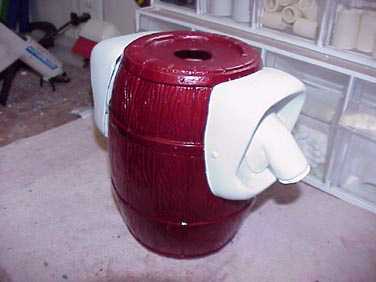
Paint the barrel, engine block and head Testor's #1629 Ruby Red Metalflake.
This photo shows how the arms are attached from the inside
Here's the painted Barrel with the vacuformed shoulders and upper arms attached passing the studs through the vacs and then using a nut and lock washer on the inside
I use 1/2" foam pipe insulation around the bottom of the skirt and attach the skirt to the barrel with a few self-tapping screws.
You can see the 1" pipe protruding through the base of the bot

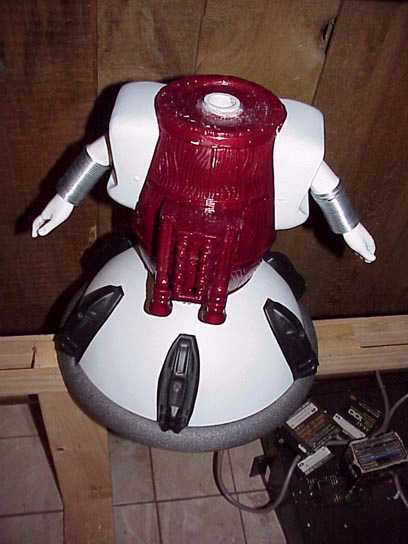
What you can't see very well in this crappy photo is the 1" PVC pipe protruding about 3/8" above the barrel.
I glue it there and at the point where it comes through the bottom of the bowl
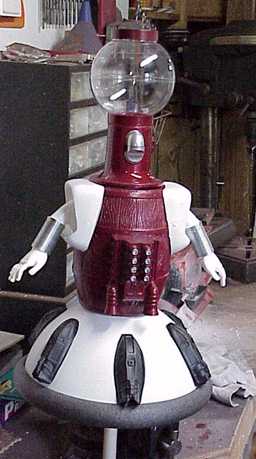
Glue on or better yet screw on the Turbo Trains, engine block and pipes. This why the Barrel/Block Combo comes in handy....
The hands push into the springs and the springs push onto the upper arms.
Drop the head pipe (1/2" PVC) through the body pipe (1" PVC) and check for the rotation. If it binds a spacer can be cut from 3/4" PVC and slid over the head pipe.
If it's crooked, it'll only bind in certain places and the glue will have to be heated and the head adjusted. A hair-dryer works well for this